

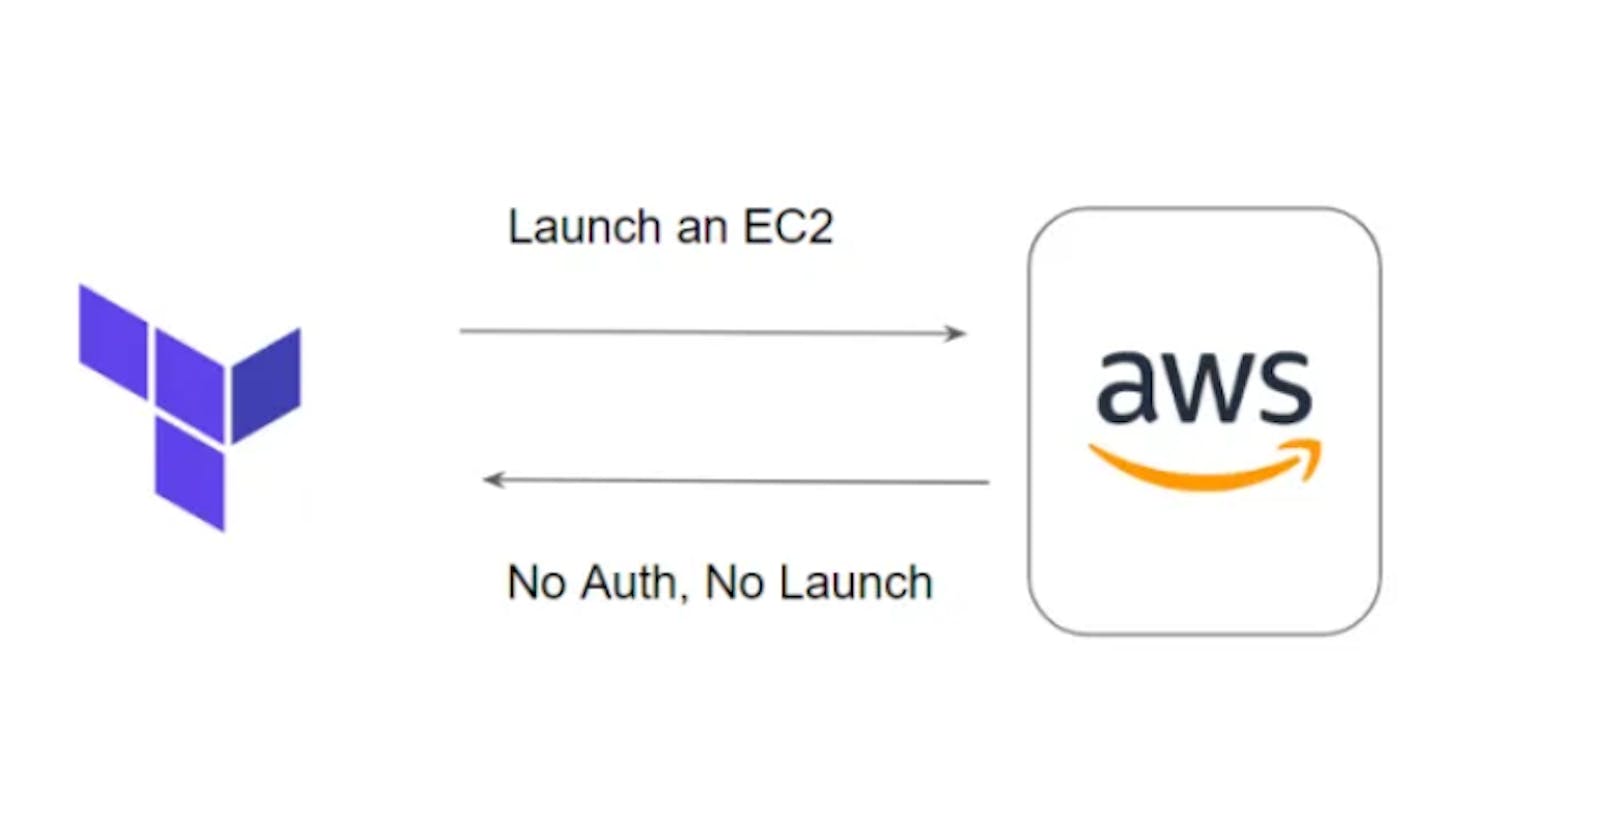
When you want to launch a resource in AWS, there are three important considerations
How will you authenticate to AWS?
Which region the resource needs to be launched?
Which resource you want to launch?

If we talk about the first point we need to authenticate to AWS to launch the resource. there are various ways to authenticate to AWS. but in this tutorial, we will add Parameters in the provider configuration to authenticate.
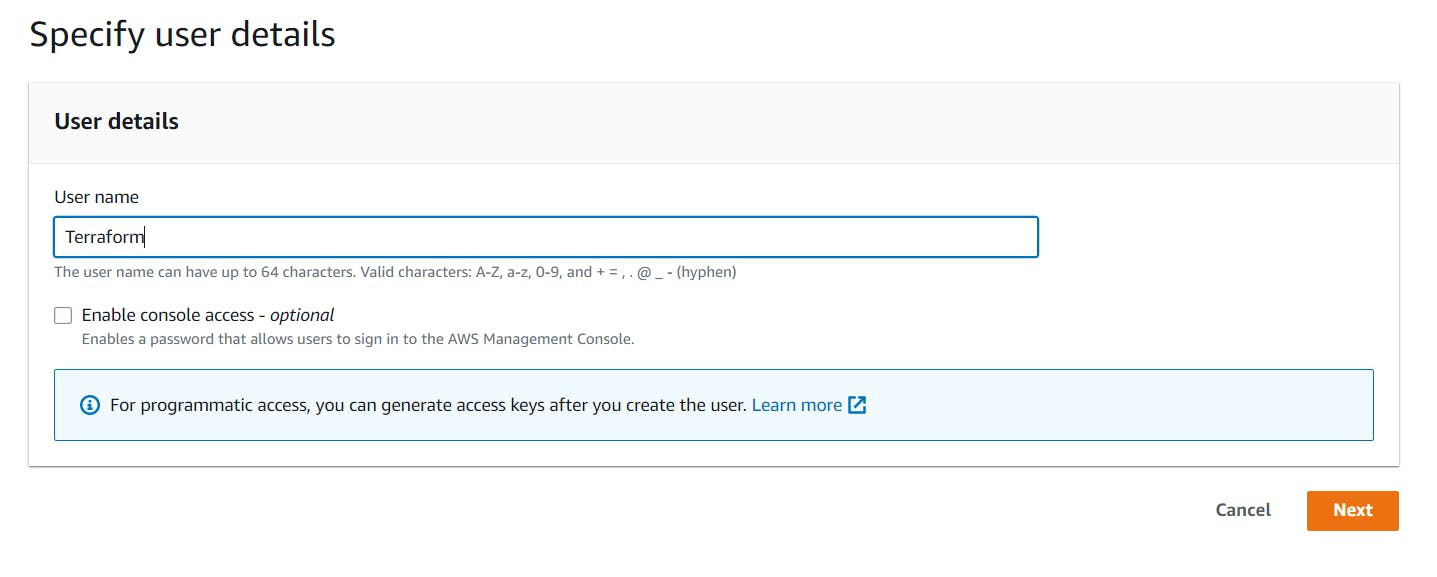
So let's jump into AWS and create one IAM user.
Go to : IAM-> Users-> Add users
Add the username of your choice and Click Next
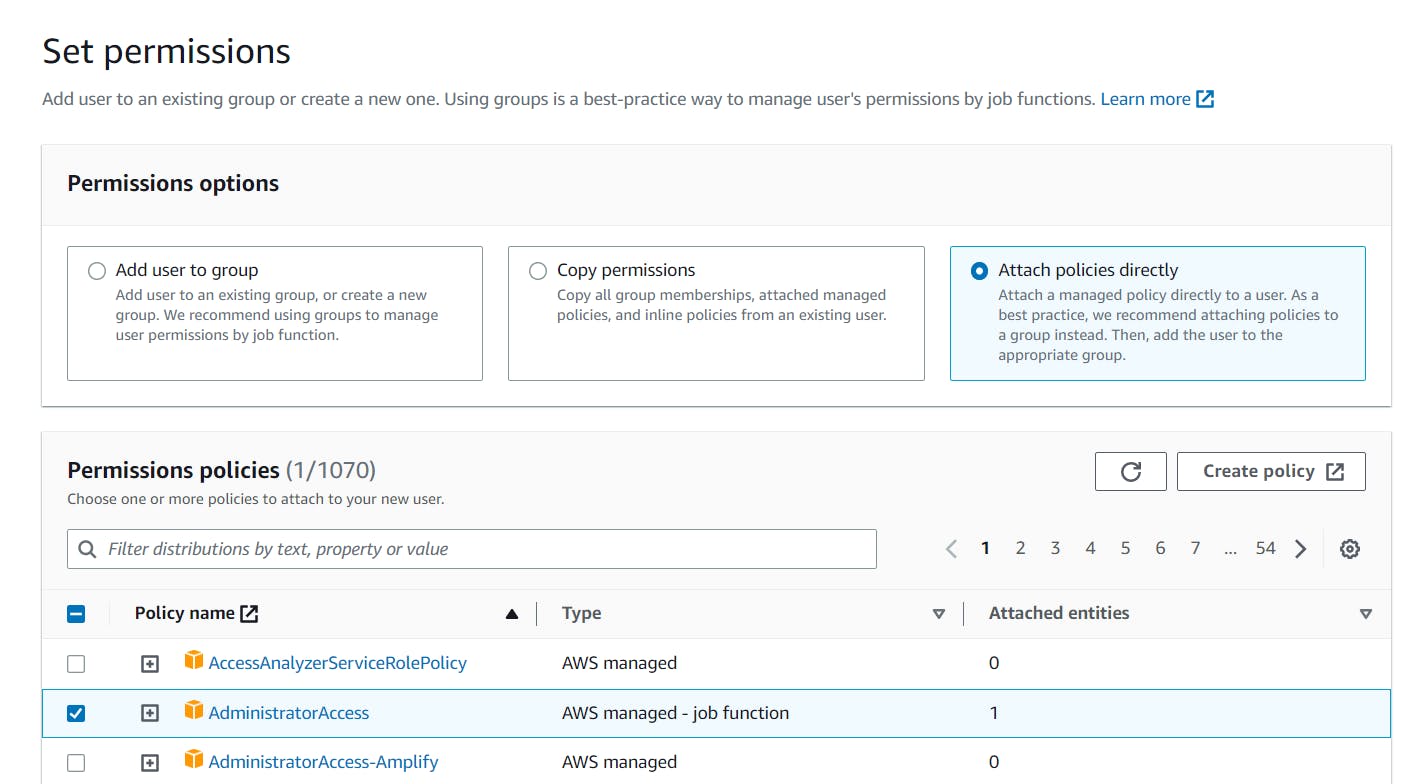
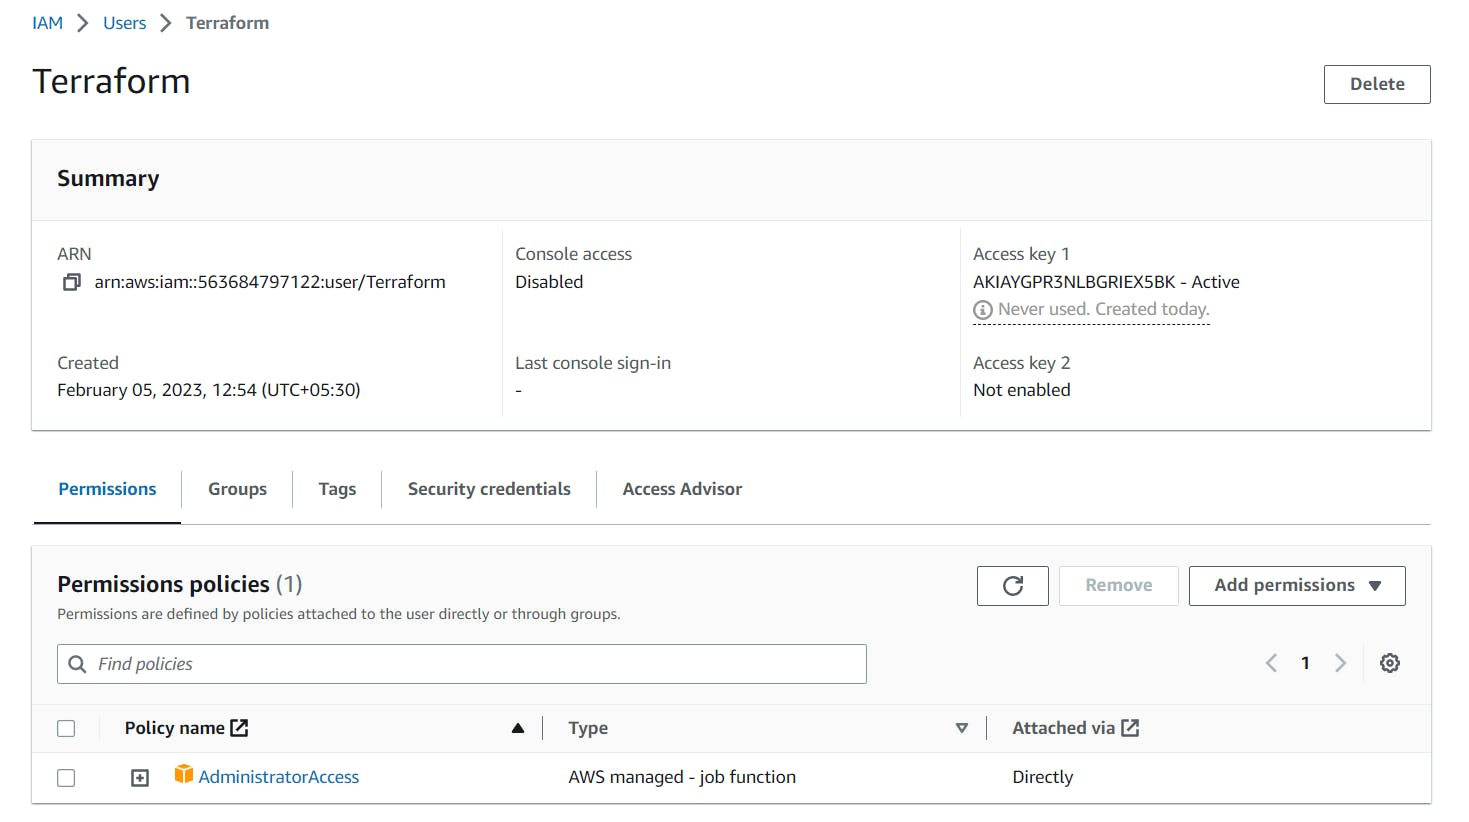
In the next step, we are going to attach a policy. so select Attach policies directly option from the permissions options and add AdministratorAccess policy. Click on Next to continue.
Review the details and click on Create user
You will see a list of users now including the one you created.
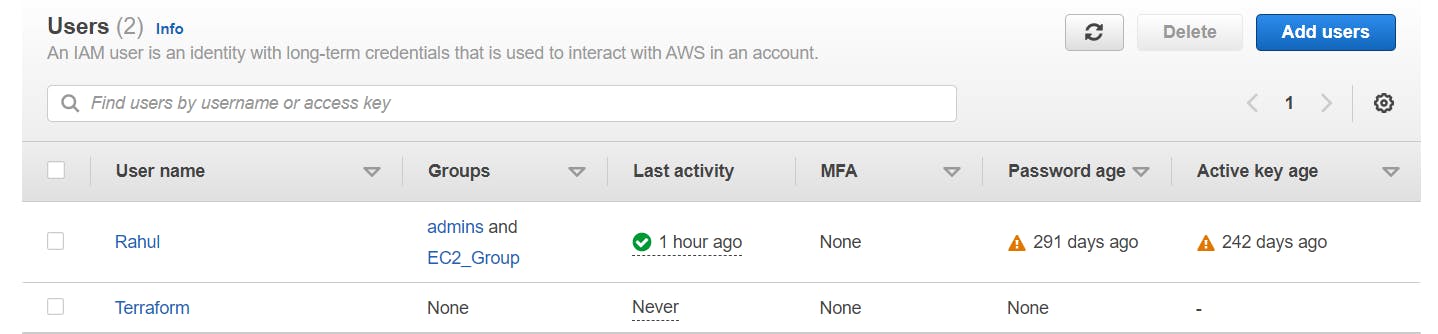
Click on the user you created and you will see the following screen
Click on Security credentials -> Create access key -> Select "Other" -> Next -> Create access key
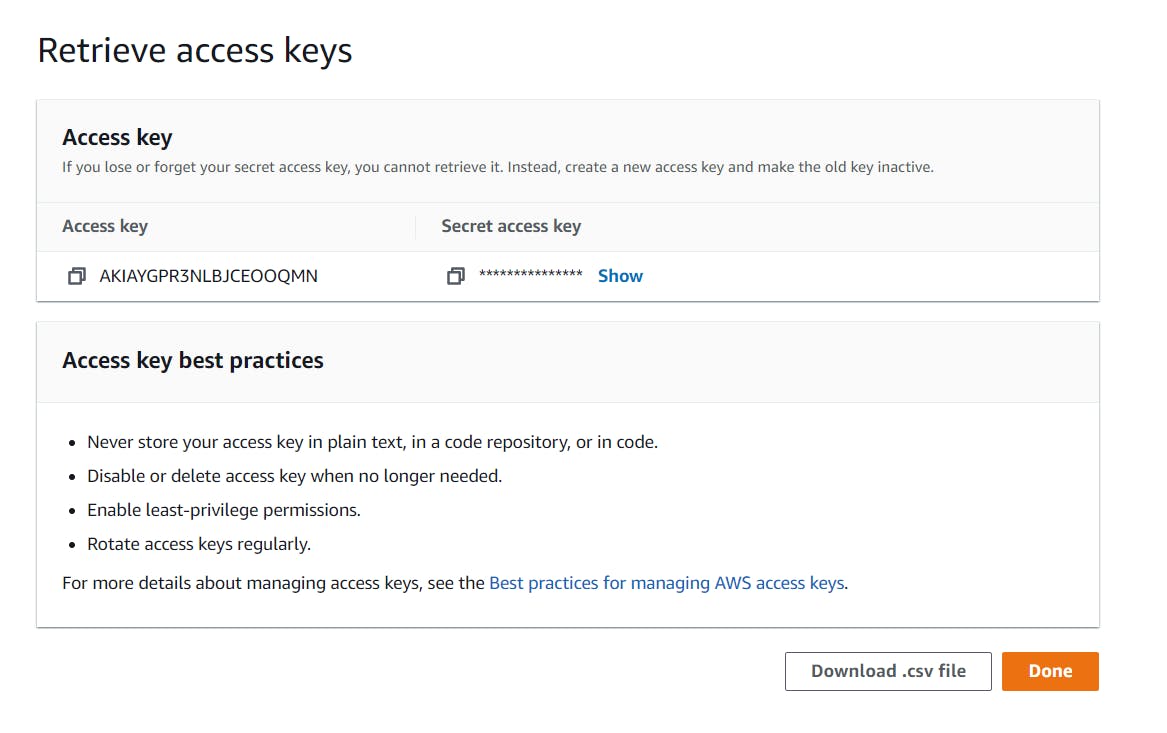
The access key and security key will get created and Download the csv file.
Click on Security credentials -> Console sign-in -> Enable console access
Set the password as per your requirements, I am choosing the Custom password and store the CSV file for future reference.

Now get ready to write the code in your favorite editor. I am using Visual studio code, you can open it as per your choice.
Create a new .tf file and get ready to write your first code to deploy resources on AWS.
provider "aws" {
  region = "us-east-1"
}
Here provider is AWS, as we are going to deploy the resources on AWS and you need to specify the region. here it is "us-east-1".
Will discuss the provider in more detail in a later tutorial.
Now, the next thing you need to do is how we are going to authenticate to AWS.
We will put the access key and secret key in aws block to authenticate.
provider "aws" {
  region = "us-east-1"
    access_key = "my-access-key"
    secret_key = "my-secret-key"
}
Here you need to replace access_key and secret_key as per your requirements.
So this is what provider block is. Just by specifying this, the resources would not be created.
So the next part within our code would be an EC2 instance-related configuration here.
Add the following code after the provider block
resource "aws_instance" "myec2" {
  ami = "ami-0aa7d40eeae50c9a9"
  instance_type = "t2.micro"
}
ami and instance_type is the required parameter to create the resource. ami vary on the region. here the ami id is for us-east-1 and Amazon Linux 2 machine.
When you create EC2 instance from AWS management console you will see a lot of other options like IAM role, placement groups, subnets, and all. However, all these you can either ignore. if you ignore it, then the default would be chosen.
Now your code is ready and it is time to play with a terminal. I am going to use VS code terminal.
the first thing that we need to do is make sure that you are in the directory where your terraform file is stored.
The first command you need to run is $ terraform init
what this command does is, it goes ahead and it reads your configuration and it identifies that you will be working with the provider of AWS and it will go ahead and start to download the AWS related terraform plugins.
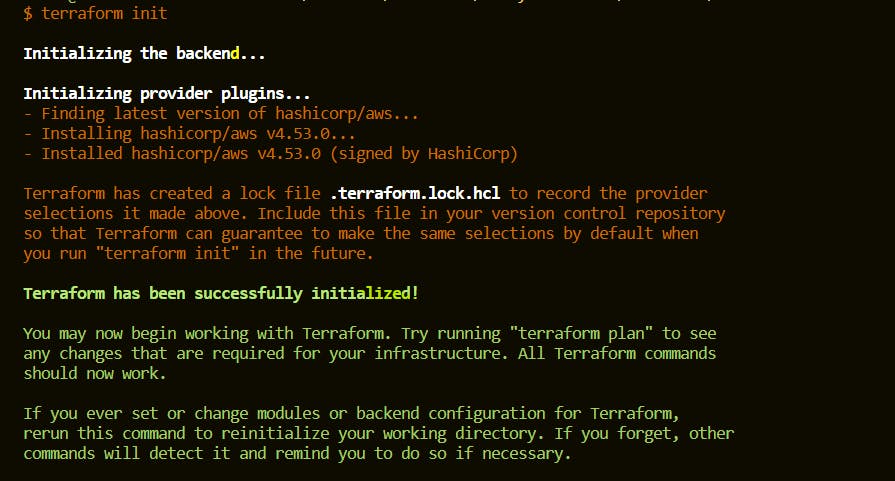
So here you see it states installed hashicorp/aws, so things seem to be working perfectly well.
Now, the next thing that you need to do is you have to run, "terraform plan"
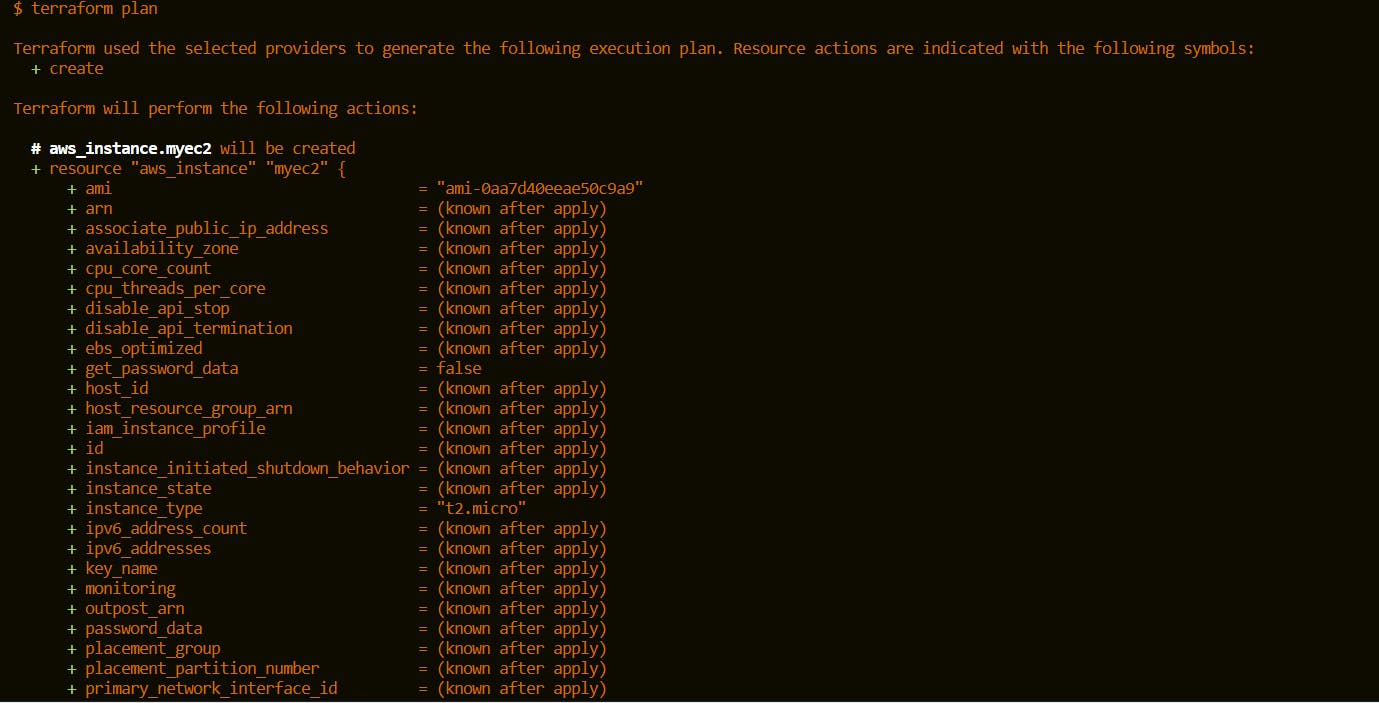
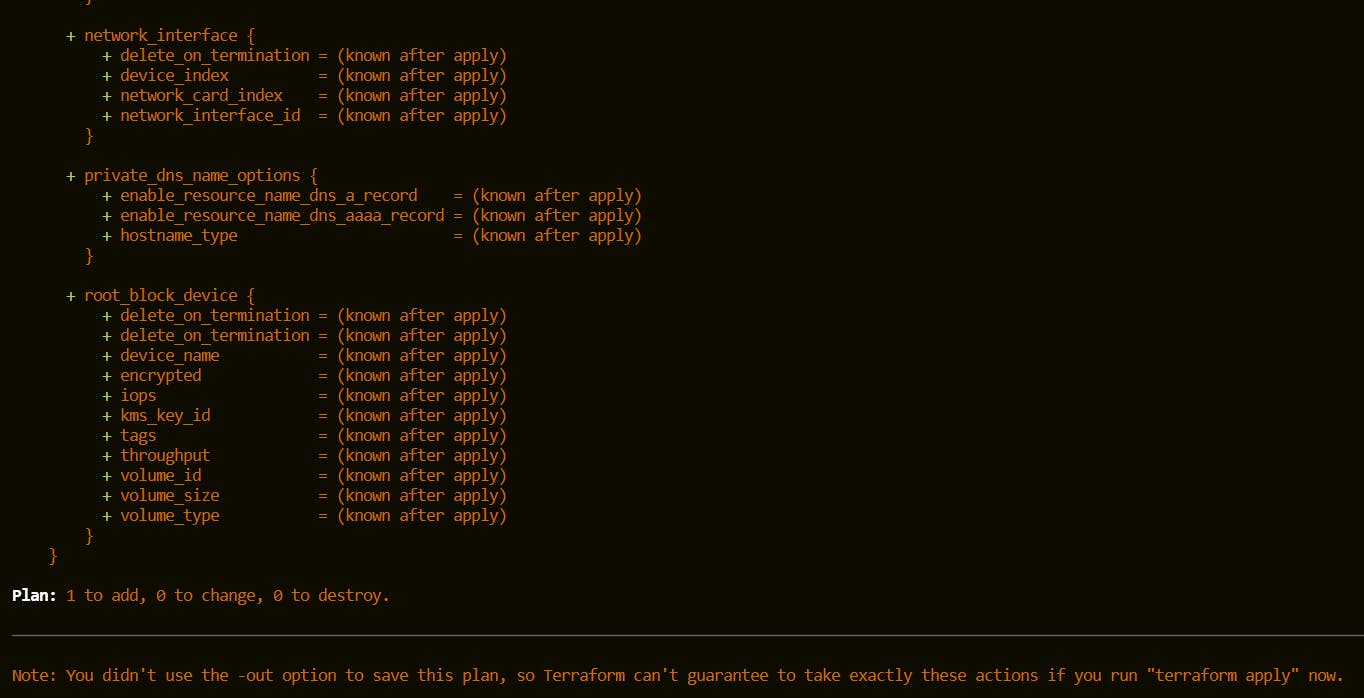
You will get the information on what terraform is planning to create. since you have not specified any other things over here, a lot of other areas are known after applying.
So we will do "terraform apply"
So what terraform apply allows us to do, It goes ahead and actually creates the resource that we have written.
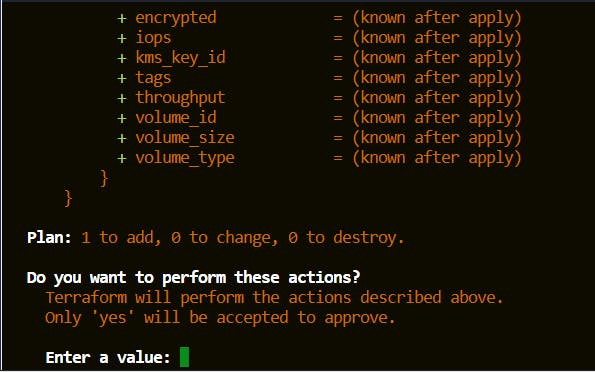
It asks you for a prompt whether you want to accept or you want to reject it. put it as yes if you want to accept. and as soon as you do it, Terraform will go ahead and start to create the EC2 instance.
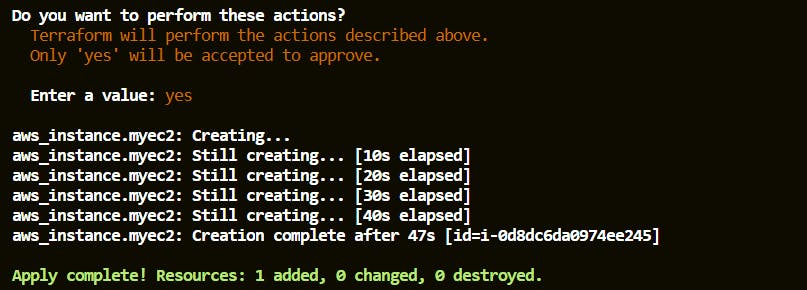
It has applied the changes and the EC2 instance is successfully created. so now let's go ahead and check the AWS management console of the EC2 instance.

You see one instance is running over here with the same AMI id. that's great!
So I hope at a high-level overview you understood the basics of provider and resource.
Now if you want to delete this resource then just write "terraform destroy"
It will delete the resource you created and it is best practice to delete the resource if you are learning.
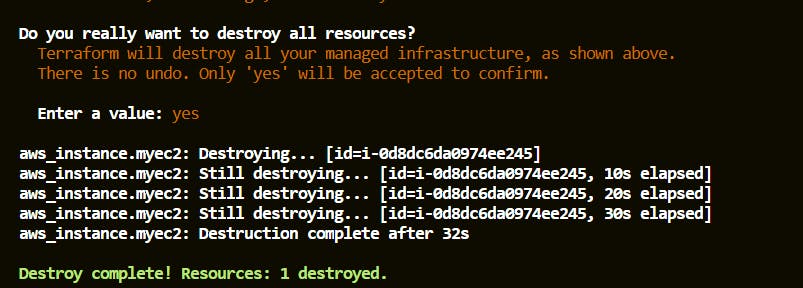
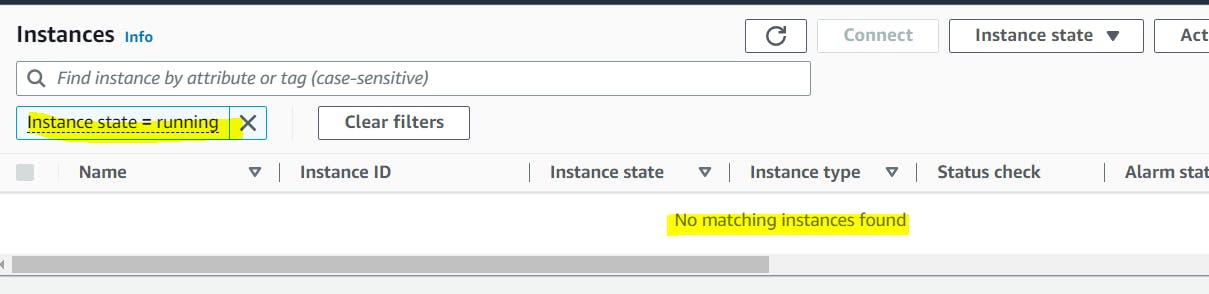
As you can see resource is deleted now.
Conclusion
In this blog post, we’ve covered how to create the EC2 instance using Terraform.
Authenticate ourselves to AWS by access key and secret key. then with the help of code, we created resources on AWS. I will recommend you to go ahead and try it out.
Feel free to drop a comment if you face any issues or just share the feedback.
Do follow me on medium for similar content. and don’t forget to share. 💻